Follow these steps to successfully deploy and run your Node.js application on Shared Hosting Panel.
Part 1: Create the Node.js Application in Direct Admin or cPanel
- Make sure Jailed SSH access is enabled on your account (contact support if needed).
- Upload your complete Node.js project files via File Manager or FTP into a subfolder inside public_html (e.g., /home/yourusername/public_html/myapp).
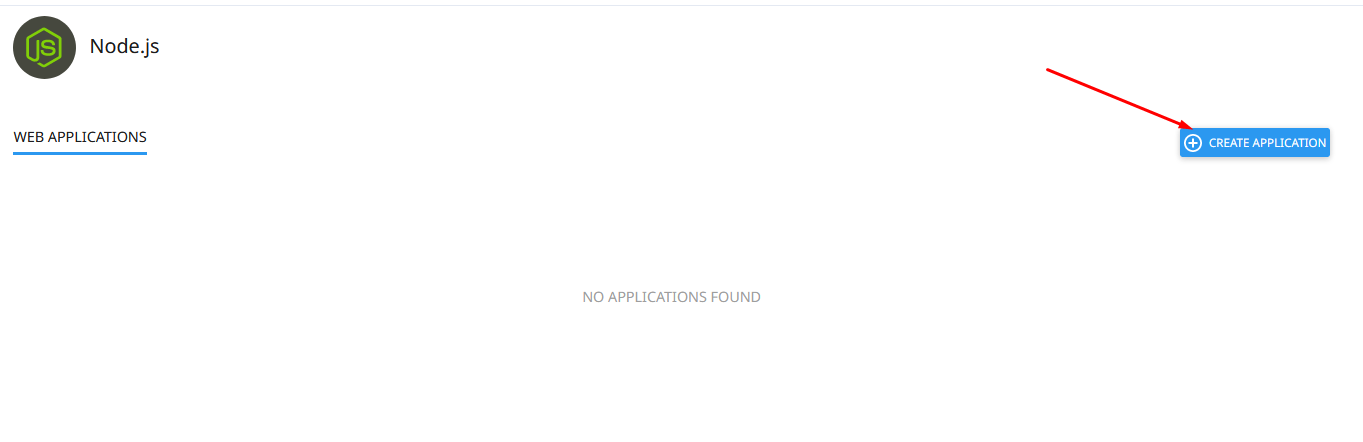
Important: Files are not allowed directly in the public_html root. - In Shared Hosting Panel, go to Setup Node.js App → Click Create Application.
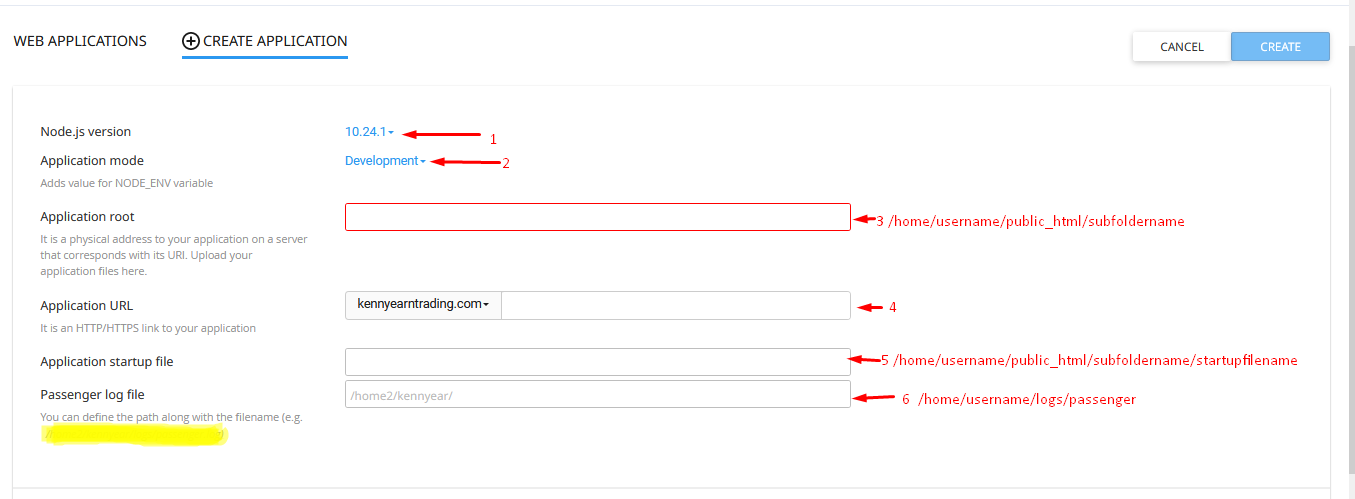
- Choose the Node.js version that matches your project.
- Select Application mode: Development (for testing) or Production (recommended for live sites).
- Set Application root to your project folder (e.g., /home/yourusername/public_html/myapp).
- Set Application URL – this is the domain or subdomain where your app will be accessible.
- Enter the full path to your startup file (usually app.js or server.js), for example:
/home/yourusername/public_html/myapp/app.js - Specify a Passenger log path (e.g., /home/yourusername/logs/passenger.log).
- Click Create.
Part 2: Install Dependencies & Configure the App
Option A – Using Shared Hosting Panel (Easiest)
- After creation, you’ll see the new app listed. Click NPM Install button – Shared Hosting Panel will automatically install everything from package.json.
2. Edit your configuration files (settings.json, .env, config.js, etc.) with correct database details, site URL, SMTP, etc.
3. Click Restart Application.

Option B – Using Terminal / SSH (More Control)
- Open Terminal in Shared Hosting Panel or connect via SSH.
- Copy and run the virtual environment activation command shown in your app details, e.g.:
source /home/yourusername/nodevenv/public_html/myapp/18/bin/activate && cd /home/yourusername/public_html/myapp

3. Inside the virtual environment, run:
npm install
4. Update your config files (database, URL, email settings, etc.).
5. Back in Shared Hosting Panel, restart the application.
Your Node.js app is now live and running!
